Import and verify invoices
Import a CSV
Section titled “Import a CSV”- Open Settings → Connections → Import invoices and download the template.
- Match your export to the template columns and date format. Use the original amount for the amount billed and the balance for the amount still owed.
- Upload the file and review errors, duplicates, exclusions, and totals before confirming.
- Open the imported invoices and compare a sample with the source export.
An opening balance is a snapshot. The difference between billed and outstanding does not create historical payment records.
Reconcile later balance changes
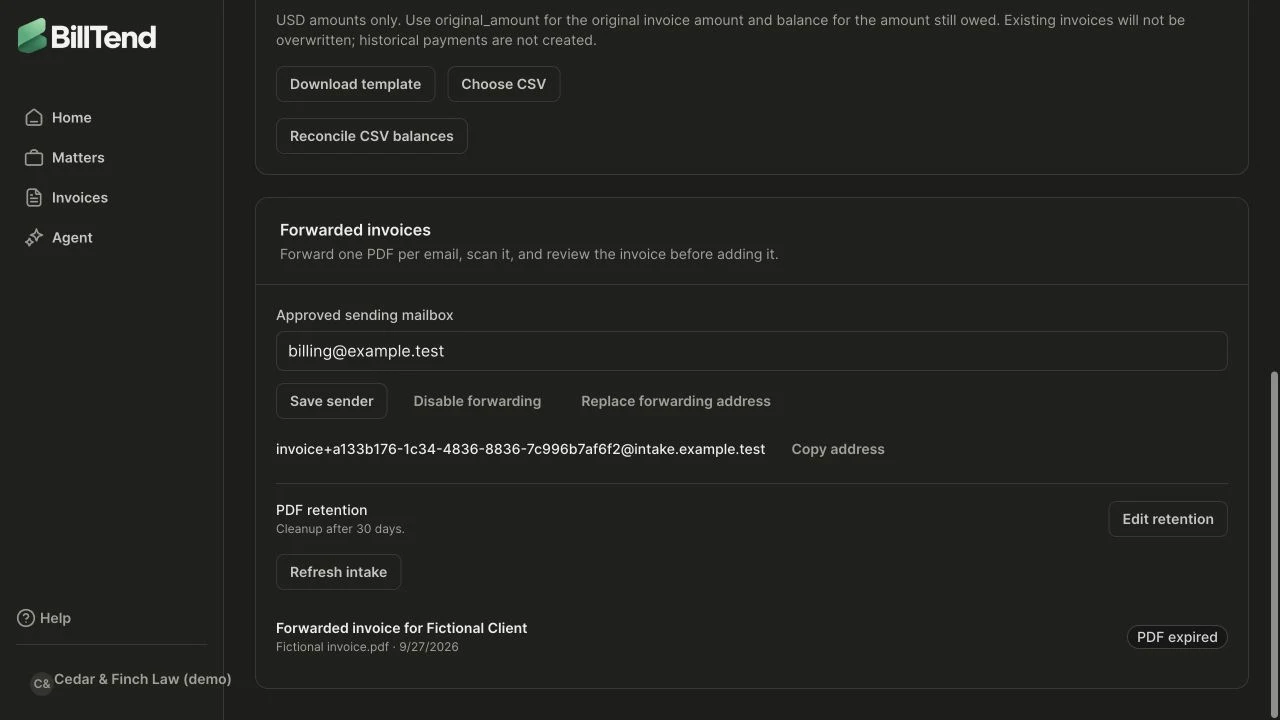
Section titled “Reconcile later balance changes”Use Reconcile CSV balances for invoices that already exist. Review the old and new totals and check the matching invoice numbers. Confirm the reviewed changes only after verifying the source. A changed balance puts follow-up on hold for review. A stale external balance can block outreach.
Forward an invoice PDF
Section titled “Forward an invoice PDF”If the firm has Forwarded invoices enabled, configure an approved sending mailbox and copy the firm-specific forwarding address from Settings. Keep that address private.
Send one invoice PDF from the approved mailbox. Wait for the scan, then verify the invoice number, client, due date, and amounts against the document. Confirm the record manually. Files that fail scanning or expire are unavailable for review. A firm Admin can manage the sender, replace the forwarding address, disable forwarding, or set available PDF retention options.